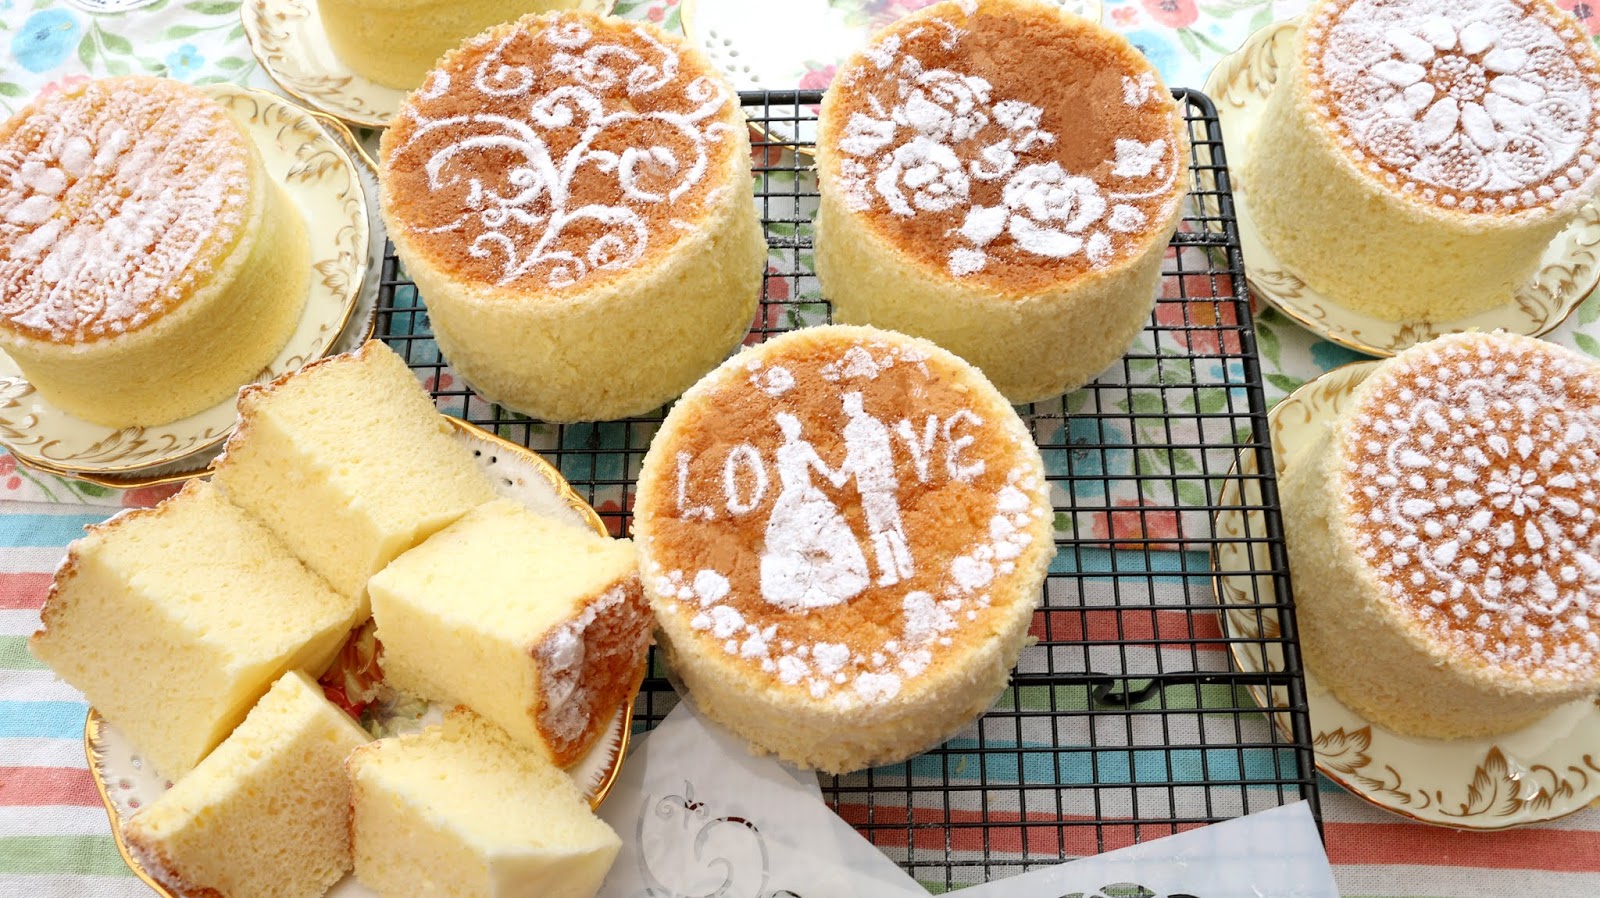
These shortbread cookies are simple yet luxurious. There are many different ways to prepare and decorate them, you can also use a biscuit cutter or a biscuit press or even your own hands to make various shapes for Christmas. I chose cherry shortbread cookies because it is an all time kids favorite and loved by chidren and adults alike, and is ideal for occasions like birthday parties, look more classy!
Make 24-25g Cookies
26-28g each balls
Ingredients
250g butter, room temperature
100g, 1 cup powdered sugar, optional
350g, 21/2 cups plain flour, sifted
Method:
1) Place the butter in a large bowl and sit in the warm oven for a few minutes. Add the sugar and mix until the sugar and butter are well mixed. add the flour a little at a time and use your hands to knead until the soft dough forms.
2) Use a spoon to dividing the dough into 24 pieces or any as you desire, put through the onto baking trays and use a spoon to shape into a flower shaped and then place glazed cherries on the centre of each cookie. Before baking, cover and place them in the refrigerator or freezer overnight, or no chilling the dough cookies still keep their shape when baked.
3) Preheat the oven to 180°C. Bake in hot oven / no fan, for about 10-12 minutes. Let the cookies cool completely on a cooling rack before serving. Store cookies in any kind of container, as long as their lids fit tightly, or old fashioned cookie tins do the job perfectly.
Recipe Source: Josephine's Recipes